
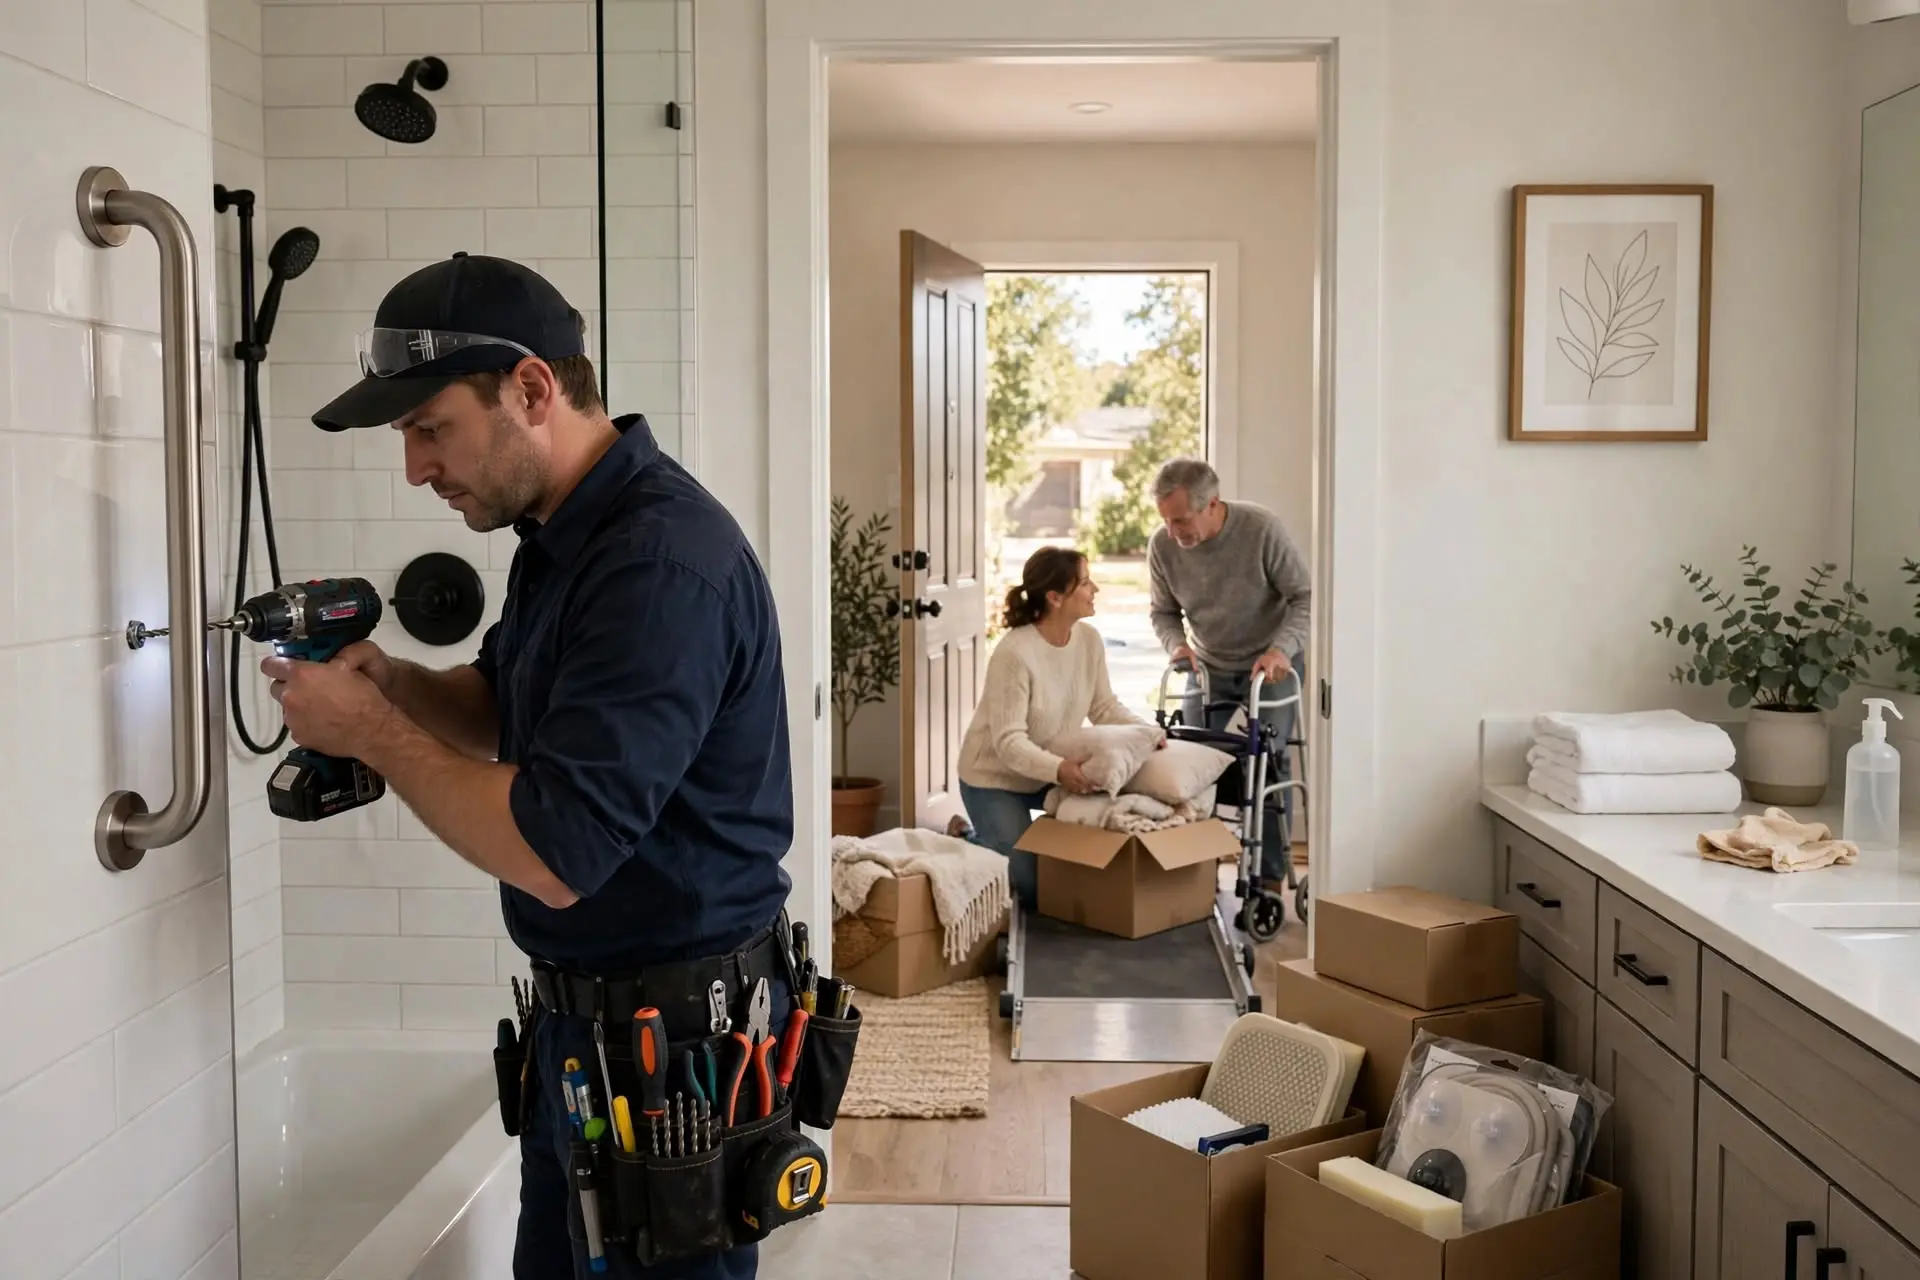
The discharge planner at Overlake or Evergreen Hospital tells the family the good news around lunchtime. Mom is being released the day after tomorrow. Everyone breathes a sigh of relief and starts making arrangements. Then the discharge planner adds one more line. The house needs to be set up for safe recovery before Mom gets home. That line often lands hard because most families have not thought through what that actually means, and the timeline for getting the work done is short. This is a practical guide to what to install before discharge day and how to prioritize the work.
The Two-Day Window
Most hospital discharge notices come 24 to 72 hours before the actual release. That is not much time to get contractors scheduled, especially in East King County where the good ones are booked out several weeks. The families who handle this well tend to have already done the walk-through work in advance and have a shortlist of local installers who can come out on short notice.
For anyone reading this before a hospital stay has happened, the single most useful thing to do is have a home safety walkthrough done now, get a written report with prioritized fixes, and put the installer’s phone number in your phone under a name you will remember. If a hospital stay happens later, you already know what needs to go in and who to call.
For anyone reading this in the two-day window with a discharge coming, the priority list is short and focused on the highest-impact items that can go in fast.
The Bathroom Gets First Attention
The bathroom is the highest fall-risk room in the house even for a healthy senior. For someone coming home from surgery or a hospital stay, the risk is higher because balance, medication effects, and mobility are all worse than they were before the hospitalization.
Grab Bars at the Toilet & Shower
The two grab bars that matter most for a home recovery are one at the toilet and one at the shower or tub entry. The toilet bar is usually a vertical 18-inch bar mounted 33 to 36 inches above the floor on the wall closest to where the user sits. The shower bar is a vertical bar at the entry point, positioned so the user can grab it before stepping in.
Both bars need to be installed into wall studs or with rated heavy-duty toggle anchors. A bar screwed into drywall alone will fail the first time it is really needed, which for a recovering patient could be within hours of coming home. This is not a place to cut corners. Total install time for two properly anchored bars is about 60 to 90 minutes.
A Raised Toilet Seat or Comfort-Height Toilet
If there is time to swap the toilet before discharge, a comfort-height toilet at 17 to 19 inches off the floor is the better long-term solution. If there is no time, a raised toilet seat that clips to the existing toilet is a good bridge for the first few weeks. The clip-on seat costs $30 to $60 and can be installed in five minutes. The permanent toilet swap costs $400 to $700 and can be done later once the household is settled.
Non-Slip Mat or Floor Treatment
The bathroom floor should have either a rubber-backed mat in the highest-risk zones or a full anti-slip treatment applied to the tile. For a fast pre-discharge fix, a good bath mat placed in front of the tub, in front of the toilet, and just inside the door covers most of the risk. The permanent floor treatment can be scheduled for later.
The Bedroom Setup
The bedroom is where the recovering patient will spend a large share of the first two weeks home, and how the room is set up matters a lot.
Bed Height
The bed should be at a height where the patient can sit down and stand up without straining. For most adults, that means the mattress top sits 20 to 23 inches off the floor. A bed that is too low forces the patient to drop down and push up against gravity, which is hard on a hip or knee replacement recovery. A bed that is too high requires stepping up, which is a fall risk.
If the current bed is too low, bed risers under the legs raise it 3 to 5 inches for about $20. If it is too high, the mattress can be temporarily removed from the frame and placed on the floor with a low box spring underneath.
Path to the Bathroom
The walk from the bed to the bathroom needs to be lit and clear. Motion-sensor plug-in night lights placed low on the wall between the bed and the bathroom door cover the lighting. Cost is $10 to $20 per light, and most bedrooms need two to three.
Clear the path of anything that can be tripped on. Move the throw rugs out of the room entirely for the first few weeks. Move floor lamps, side tables, and pet beds out of the walking path.
The Living Areas
The living room and kitchen need less immediate work than the bathroom and bedroom, but a few small changes make a real difference.
Seating
The couch or main chair should be firm enough that the patient can stand up without struggling. If the seat is too low or too soft, a firm cushion added to the seat raises the sit height and provides a stable pushing surface. A recliner with power lift assist is another option for longer recoveries.
Trip Hazards
Walk through the main living areas and remove or secure everything on the floor that could catch a foot. Extension cords across walking paths, low ottomans in the middle of the room, throw rugs on hardwood, and pet toys all need to be dealt with before discharge day.
Who to Call in a Time Crunch
For East King County families in the two-day window, home safety specialists in Issaquah handle rush pre-discharge installs across Bellevue, Kirkland, Redmond, and Sammamish. Most of these appointments can be scheduled within 24 to 48 hours, and a full pre-discharge install of two grab bars, a raised toilet seat, and a few motion-sensor lights runs about $500 to $900.
The peace of mind for the patient coming home and the family caring for them starts the day the installer walks out the door with the work done. What follows is a recovery that happens in a safer house than the one the patient left.