
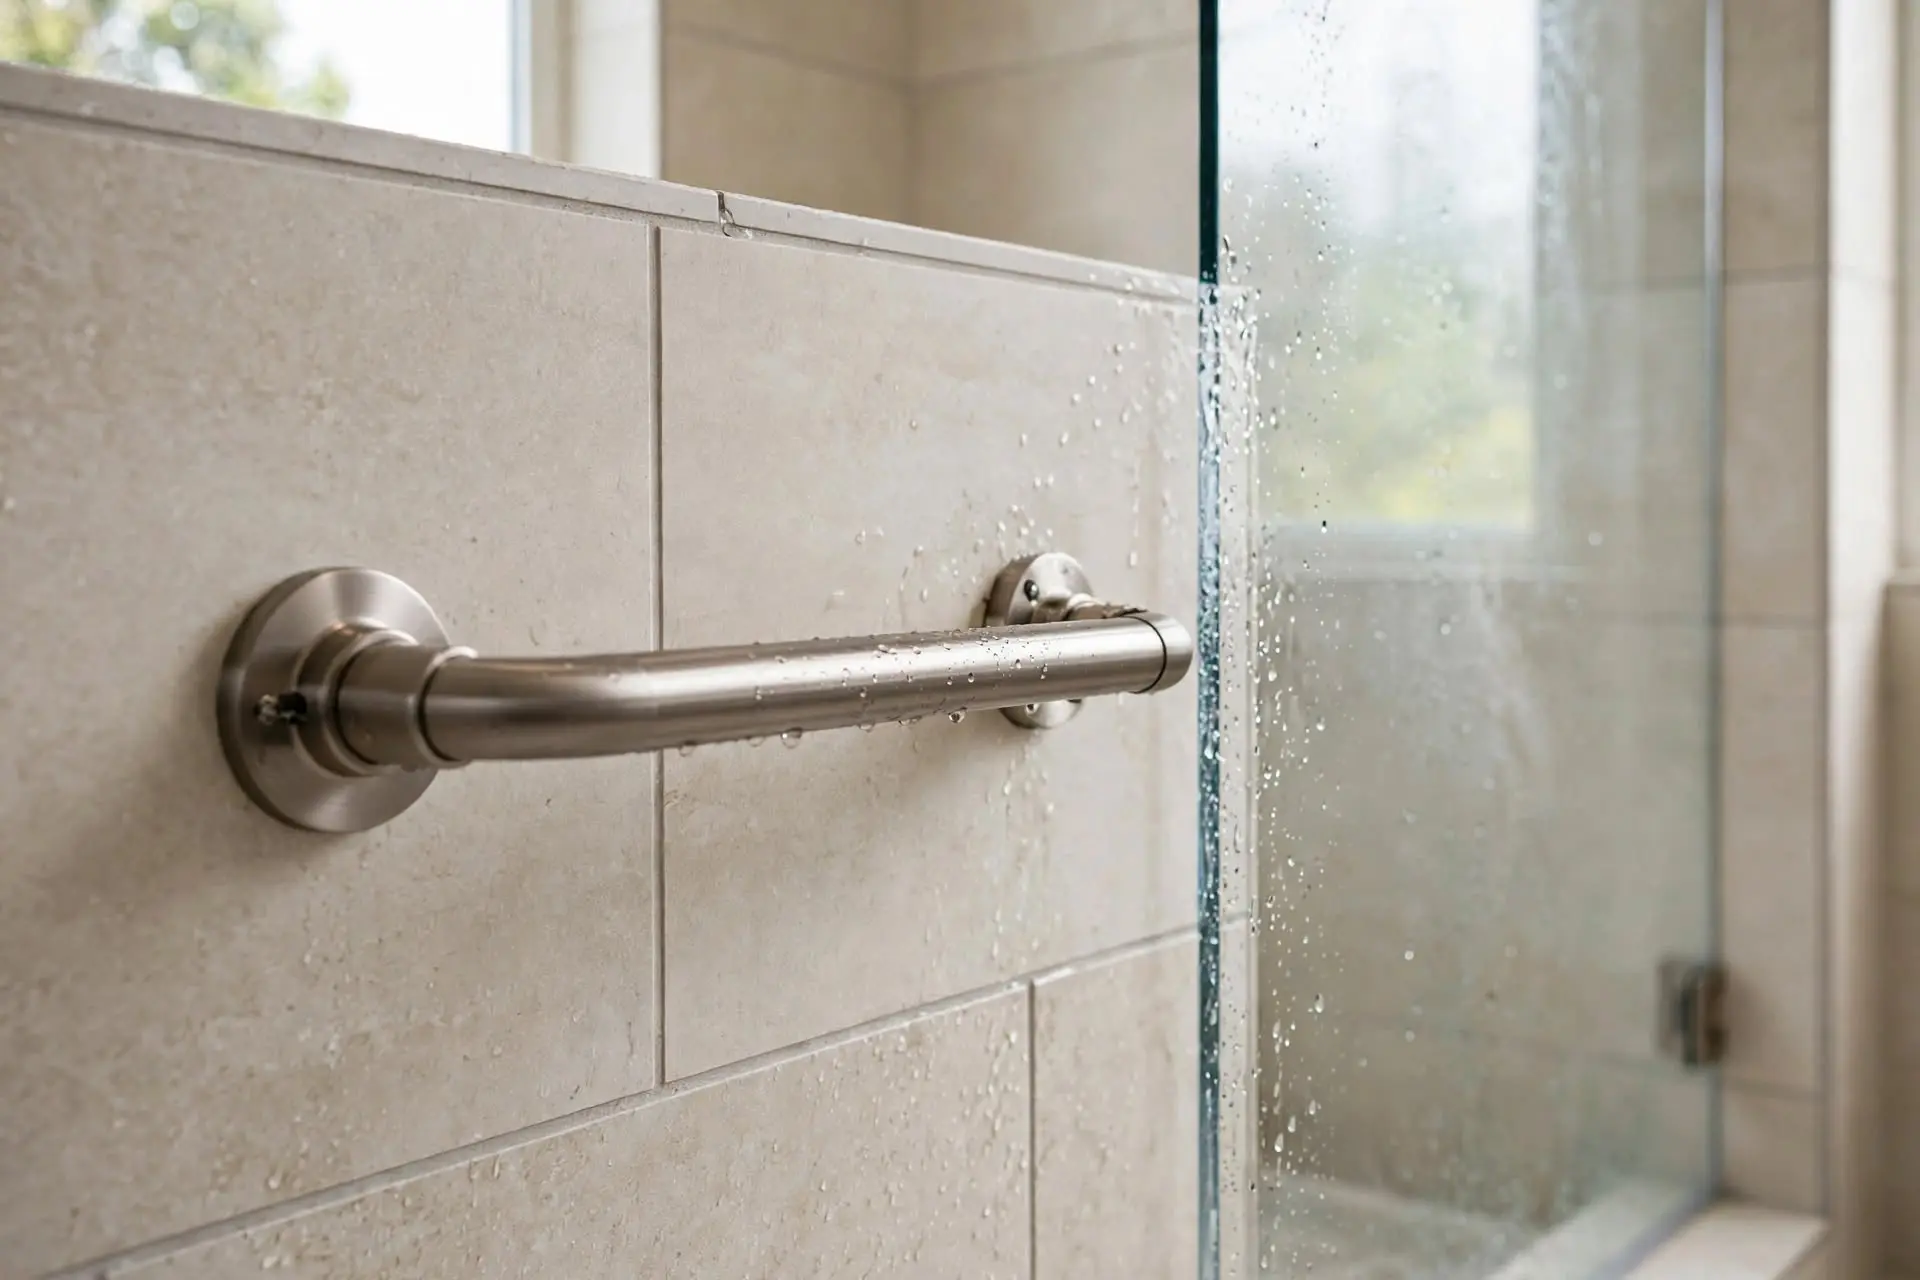
If you have looked at your shower recently and wondered where a grab bar could actually go, you have run into the problem that catches every installer working in Issaquah homes. The wall behind that tile is not always where you think it is. The studs behind that drywall are spaced differently than the standard chart suggests. And the frameless glass enclosure your bathroom got in 2015 makes the whole thing more involved than it needs to be. This is a practical walk through what actually happens when someone tries to install a grab bar in a real Issaquah shower.
The Issaquah Housing Stock
Issaquah homes fall into a few main categories, and each one has its own shower construction pattern.
The older Squak Mountain and downtown Issaquah homes built between 1970 and 1995 usually have tub-shower combinations with fiberglass or acrylic surrounds, or tile installed over greenboard. The walls behind these surrounds are framed with 2×4 wood studs on 16-inch centers, which is the standard old-school layout.
The Issaquah Highlands and Talus homes built between 2000 and 2015 usually have larger primary bathrooms with separate tub and shower areas. The showers in these homes are often tile over cement board, with more space and more design decisions to make. Framing is still typically 2×4 wood on 16-inch centers, but with more variation depending on the builder.
The newer construction going up along Newport Way and in the Klahanie developments over the last decade often has larger walk-in showers with tile walls, sometimes with metal studs behind the tile instead of wood. Metal studs need different anchoring hardware than wood studs.
Where Studs Actually Hide
The theoretical 16-inch spacing is a starting point, not a guarantee. In real Issaquah bathrooms, studs show up in patterns that depend on where the plumbing runs, where the vent stacks go, and where the original builder had to work around obstacles. It is common to find one stud right where a bar needs to go, then a 24-inch gap before the next stud shows up, then a stud in an odd spot to support a shower valve.
A stud finder is a starting point but not reliable in a wet-area wall. The tile adds thickness. The waterproof membrane behind the tile can trigger false readings. The cement board or greenboard behind the tile has a different density than standard drywall. Any installer working in a tile shower needs to combine stud finder readings with a small pilot hole to confirm what is behind the tile before drilling the mounting holes.
The Frameless Glass Enclosure Problem
Many Issaquah homes upgraded their showers between 2010 and 2020 with frameless glass enclosures. The glass sits flush against the tile with minimal hardware, which looks clean but eliminates some of the natural mounting spots for grab bars.
A framed shower enclosure had metal tracks that could sometimes hold a bar with the right hardware. A frameless enclosure has nothing to mount to except the tile itself, which means the bar has to go where the studs are, not where the design might suggest.
The other issue with frameless enclosures is glass proximity. A grab bar mounted three inches out from the wall can conflict with a glass panel if the panel is closer than four inches from the mounting location. Installers need to measure the clearance before drilling to avoid a bar that either hits the glass or leaves too little room to actually grip.
Working Around Existing Fixtures
Shower valves, showerheads, soap dishes, and shampoo shelves all take up wall space that could otherwise hold a grab bar. In older Issaquah showers, the fixtures are usually plumbed in fixed locations that cannot be moved without opening the wall. The bar has to go in the remaining available space.
The good news is that most showers have enough usable wall space if the placement gets planned around the existing fixtures. A vertical bar at the entry point can usually go on the side wall opposite the plumbing. A horizontal bar for support while standing can usually go on the back wall below the showerhead. A diagonal or angled bar for sit-to-stand assistance from a bench can go on the wall next to where the person sits.
Anchor Choices for Tile
When a stud is available, mounting a grab bar into it is straightforward. Drill through the tile with a diamond-tip bit, drill through the cement board and into the wood stud, and drive the mounting screw home. The bar holds up to 500 pounds of load when done correctly.
When a stud is not available where the bar needs to go, the installer has three main choices.
The first is a heavy-duty toggle anchor rated for at least 250 pounds. Modern toggle anchors such as the Snap Toggle or WingIt anchors go through the tile and expand behind the wall to spread the load across a larger area. These are rated for real grab bar use when installed correctly.
The second is a wing anchor system built for grab bar installation on tile. Products like the Solid Mount system provide the load rating of a stud install even in locations where no stud is available. Cost is higher, but the security is comparable to stud mounting.
The third is to install blocking behind the tile, which requires opening the wall from the back side. This is only practical if the back of the shower wall is accessible from an adjacent room such as a closet or a laundry area. In most Issaquah homes, the back of the shower is against another wet wall or against exterior sheathing, and this option is not available.
Sealing the Penetrations
Every hole drilled into a tile shower is a possible water entry point. The installation process needs to include sealing each mounting hole with a waterproof silicone before the screw goes in. This keeps water from working its way behind the tile over time and causing rot in the framing or growth of mold in the cement board.
A quality install seals each hole individually, then applies a second bead of silicone around the flange after the bar is mounted. Done correctly, this creates a double barrier that keeps the wet-area waterproofing intact for the life of the bar.
Getting the Placement Right
The heights and angles that work for a person depend on how they actually move through the shower. Standard chart placements are a starting point, but the right placement is the one that lets the actual user reach the bar naturally without stretching or bending awkwardly. A good installer measures the person’s reach and grip height before marking any holes, and adjusts the placement to fit that individual rather than the chart. That extra ten minutes of measurement makes the difference between a bar that gets used every day and a bar that gets ignored because it sits in the wrong spot.